
Last updated November 17, 2026








Free in-home design visit - walk-in showers, tub-to-shower conversions, and Kohler, Moen, and Delta fixtures planned to your exact space
Bathroom Remodeling Maintenance Schedule: What to Do and When
Most remodel warranties include a clause that voids coverage if maintenance isn’t performed. Yet contractors rarely hand homeowners a written schedule, which means thousands of dollars in protection quietly expires through neglect, not abuse. A bathroom is a capital investment, and the only way to protect it is to treat it like one: with a dated, task-specific calendar rather than vague advice to “clean regularly.” What follows is the schedule we’d hand a Henderson homeowner on completion day, covering caulk, grout, showerheads, exhaust fans, and the brand-specific details that actually determine how long your fixtures last. Read it once, then keep it.
Quick Answer
A bathroom remodel should be maintained on a monthly, quarterly, and annual cycle: inspect caulk and grout monthly, descale showerheads and clean exhaust fans quarterly, reseal grout and tile annually, and run a full pre-monsoon and pre-summer inspection twice a year. In Henderson’s hard water, descaling matters more than national guides suggest, so plan on a quarterly schedule at minimum.
Styles & brands we work with
- Walk-in shower
- Tub-to-shower
- Freestanding tub
- Kohler
- Moen
- Delta
- Frameless glass
Table of Contents
- Why a Written Maintenance Schedule Protects Your Investment
- Monthly Tasks: Caulk, Grout, and Drains
- Quarterly Tasks: Descaling and Exhaust Fan Care
- Annual Tasks: Resealing and Deep Inspection
- Henderson Climate: The Two Stress Periods
- Brand-Specific Maintenance: Kohler, Delta, Moen, and More
- Schluter vs. Traditional Waterproofing: Different Schedules
- Normal Settling vs. a Failing Joint
Why a Written Maintenance Schedule Protects Your Investment
A bathroom fails from water in the wrong place, not from age. A $15,000 or $30,000 remodel doesn’t wear out because the tile is old; it fails because a caulk joint opened by a fraction of an inch and let water sit behind a wall for two years. That’s what a schedule prevents.
When we finish a project in Bathroom Remodeling Henderson, the components most likely to fail first are rarely the expensive ones. Here’s the actual failure order we see, from most likely to least:
- Caulk at the tub or shower base – the single most common point of water intrusion.
- Grout at the shower floor and wall corners – flexible movement breaks rigid grout before anything else.
- Showerhead and valve aerators – mineral buildup in hard water reduces flow and strains cartridges.
- Exhaust fan – dust and lint clog the blades and reduce moisture removal, which then damages everything else.
- Door sweeps and shower door gaskets – usually the last to fail, but they cause invisible floor staining.
The key insight: the first four items are cheap to maintain and expensive to ignore. A tube of quality silicone and a quarter-hour of your time prevents the wall rot that runs into thousands. That’s why a written schedule isn’t busywork. It’s the difference between a bathroom that lasts its intended service life and one that needs a second remodel inside a decade.
Reviews of generalist contractor work often skip the handoff altogether. We include a maintenance walkthrough as part of a full bathroom remodeling project because the finish materials only perform as well as the care they receive afterward.
Monthly Tasks: Caulk, Grout, and Drains
Once a month, set aside 20 minutes. These tasks are quick, they require no special tools, and they catch the problems that cost the most to fix.
1. Inspect every caulk joint
Run a finger along the caulk line where the tub or shower base meets the wall and where the floor meets the walls. Look for gaps, cracks, peeling edges, or dark discoloration. A joint that’s pulling away at one spot is letting water behind the wallboard. If it’s peeling or cracked, remove and replace it. Don’t smear new caulk over old; that hides the problem without sealing it.
2. Check grout for hairline cracks
Look at grout lines at inside corners and on the shower floor. Hairline cracks in corners are normal movement. Cracks running through the middle of a field of tile are not. Note which type you’re seeing so you know whether to reseal or call for an inspection.
3. Remove hair and debris from the drain and strainer
A slow drain isn’t always a plumbing problem. Pull the strainer, clear the hair, and clean the overflow plate. That single action prevents most slow-drain calls we hear about. If it drains slowly after cleaning, that’s when to bring in a professional.
4. Wipe down the exhaust fan cover
A quick wipe on the grille prevents dust from loading the blades. You’ll do a deeper cleaning quarterly.
5. Check the toilet base for movement
Rock the toilet gently. Any movement means the floor flange or wax seal is likely failing, and that’s a leak waiting to happen. Don’t ignore it.
Quarterly Tasks: Descaling and Exhaust Fan Care
Every three months, tackle the tasks that require more time or more deliberate products. In Henderson, this quarter is where hard water earns its attention.
Descale the showerhead and faucet aerators
Henderson’s water carries high mineral content, which means scale builds up faster than national maintenance guides assume. A quarterly descale keeps flow strong and protects the internal cartridge. Here’s how to do it right:
- Remove the showerhead and unscrew the faucet aerators.
- Soak them in a 1:1 solution of white vinegar and water for 30 minutes.
- Scrub gently with an old toothbrush to loosen mineral deposits.
- Rinse thoroughly and reinstall.
For premixed descalers, choose one labeled safe for PVD finishes and natural stone. Avoid acidic cleaners on marble or travertine and strong scouring pads on any finished surface. That distinction matters because a bathroom in Henderson may use a mix of porcelain, glass, and stone, and the wrong product etches those materials permanently.
Deep-clean the exhaust fan
Turn off the breaker. Remove the grille, vacuum the blades and housing, and clean with a damp cloth. Reassemble and test the fan’s suction. If it’s noticeably weaker than it was a year ago, that’s worth noting before you move on to the annual checklist.
Check the tub or shower door tracks and seal
Clean the tracks, look for cracked gaskets, and note any floor staining. Water that runs onto the floor instead of back into the pan points to a failed seal or a poorly pitched track.
Annual Tasks: Resealing and Deep Inspection
Once a year, budget two to three hours and do the deeper work. These tasks are best done in the same season each year so you can compare one inspection to the last.
1. Reseal grout
If water beads on grout, the sealer is holding. If it darkens immediately, the sealer is gone. Reseal with a penetrating sealer designed for the tile and grout type you have, not a film-forming sealer that peels. Allow 24 hours of cure time before getting the surface wet.
2. Re-caulk every perimetrical joint
Even caulk in good condition benefits from a full replacement every one to two years in a wet environment. Remove old caulk completely, clean with denatured alcohol, and apply quality waterproof silicone rated for wet areas. Bathroom silicone caulk dries best in a warm, ventilated room; give it a full cure before use.
3. Inspect the exhaust fan motor and ducting
The annual inspection is the point where you check the ducting behind the fan for disconnection or blockages. A fan that runs but doesn’t clear moisture from the room isn’t doing its job, and in a Henderson bathroom that means humidity damage all summer.
4. Inspect all shut-off valves and supply lines
Turn the valve off and on to keep it from seizing. Look for corrosion or dripping at the supply line connection. A failing supply line is one of the most common silent leak sources in a bathroom.
5. Check the finish surfaces and the waterproofing at edges
Run a finger along the boundary of the shower pan and the tile and check the floor-drain seal. Any softness, swelling, or dark staining points to moisture behind the surface.
Henderson Climate: The Two Stress Periods
A Henderson bathroom is hit by two distinct stress periods a year: the dry heat of summer and the monsoon season. Each stresses the surfaces differently, and each deserves its own inspection checklist.
Pre-summer inspection (late spring)
Summer heat and low humidity dry out caulk and shrink it. Do this inspection before the heat peaks:
- Inspect all caulk joints for shrinkage or cracking.
- Test the exhaust fan’s airflow; the fan runs more as the house heats up.
- Check that the supply valves turn freely.
- Confirm the shower pan holds water with no leaks.
Pre-monsoon inspection (late June to early July)
Monsoon moisture pushes the humidity up hard, and that reveals any waterproofing gaps:
- Inspect corners, tile transitions, and window or skylight seals for gaps that allow moisture in.
- Run the exhaust fan and verify it pulls moisture effectively.
- Check the exterior wall for signs of moisture seepage at the window and vent locations.
- Confirm the shower door seals haven’t dried out.
Brand-Specific Maintenance: Kohler, Delta, Moen, and More
Fixture maintenance isn’t identical across brands. Cartridge designs and service intervals differ, and knowing yours saves you from a premature replacement.
Kohler and Grohe
Kohler faucets and Grohe fixtures generally need a valve check every 12 months. Grohe’s thermostatic cartridges, in particular, benefit from a clean of mineral buildup every six months in Henderson’s water, or you’ll notice temperature control drifting.
Delta
Delta’s cartridge systems and shower trim need an annual removal and inspection, which catches mineral wear before it causes a leak. Delta handles scale fairly well but its finish will show water spotting sooner if the descale schedule slips.
Moen
Moen’s cartridge design and finishes are generally stable, but check its cartridge at the 12-month mark, and plan to replace it if water pressure has noticeably dropped. That’s the leading sign of wear.
American Standard and Sterling
These workhorse lines typically require straightforward service: check the trim and supply connections annually, and check the trap and shut-off valves in the first year. Their specifications are typically simpler than the premium lines, which makes them easy to maintain.
Toto
Toto’s water-saving designs and internal valve components deserve a check at least once a year. If your home has a Toto toilet, inspect the valve and fill system annually and replace the seal at the first sign of wear.
Schluter vs. Traditional Waterproofing: Different Schedules
How long you can go between seal issues depends heavily on how the shower was waterproofed. Two systems matter here.
Schluter waterproofed systems
A Schluter Systems installation uses bonded waterproofing membranes, which is the professional standard for moisture control. That means less sealant work over the long run, but it doesn’t mean zero maintenance. The drain assembly and the movement joints still need an annual check, and the membrane’s seals at the wall-floor transition should be inspected every year. In practice you’ll check the joints each year and not re-caulk the field tiles.
Traditional mud-bed and tile systems
A traditional shower pan and tile set relies more on caulk and grout as part of the waterproofing strategy, so you’ll need a tighter schedule: inspect monthly, reseal grout every 12 months, and re-caulk every year. In a vulnerable system, the caulk joint isn’t just cosmetic. It’s a moisture barrier.
If you aren’t sure which system your shower has, we can confirm it, and if your remodel is still ahead of you, a waterproofed Schluter installation is the detail that separates a lasting remodel from one that leaks.
Normal Settling vs. a Failing Joint
Homeowners often ask us whether the crack in their caulk is a real problem. Here’s how to self-triage before you call.
Normal settling looks like
- A hairline crack in an inside corner or at a wall-floor transition.
- Caulk that’s slightly compressed or pulled at a corner but still attached on both sides.
- Grout that thins in a movement-joint area but hasn’t cracked the tile.
- No softness or swelling when you press on the wall or base.
A failing joint looks like
- A gap that’s visibly open or delaminating at one point, with the caulk lifted on one side.
- Soft or spongy press on the board behind the tile.
- Dark staining or discoloration spreading from the joint.
- A crack that runs through the tiles, not just the grout.
If you see any of the failing signs, don’t wait for your annual schedule. Water is already getting where it shouldn’t be. We often see these after a monsoon season in older Henderson homes where the original caulk has aged out. In that case, a professional inspection is the right call, not another tube of caulk.
Common Mistakes to Avoid
- Caulking over old, dirty caulk. It doesn’t seal and it hides an active leak. Remove old caulk completely first.
- Using the wrong cleaner on stone or PVD finishes. In Henderson, mixing vinegar and marble is how etch marks happen. Match the cleaner to the material.
- Skipping the quarterly descaler. National guides assume soft water. Henderson’s hard water needs a tighter schedule to protect cartridges and fixtures.
- Assuming the exhaust fan needs no attention. Dust costs you moisture removal, and the downstream damage is much more expensive than a quick cleaning.
- Sealing grout with a film-forming sealer. It looks fine until it peels, and then removal takes longer than a proper penetration sealer would have.
- Ignoring a hairline joint that’s actually widening. Inspect at the same time each year so you can compare, not guess.
- Never inspecting before the monsoon season. Most waterproofing failures announce themselves when the humidity rises. A pre-season check catches them early.
See the difference
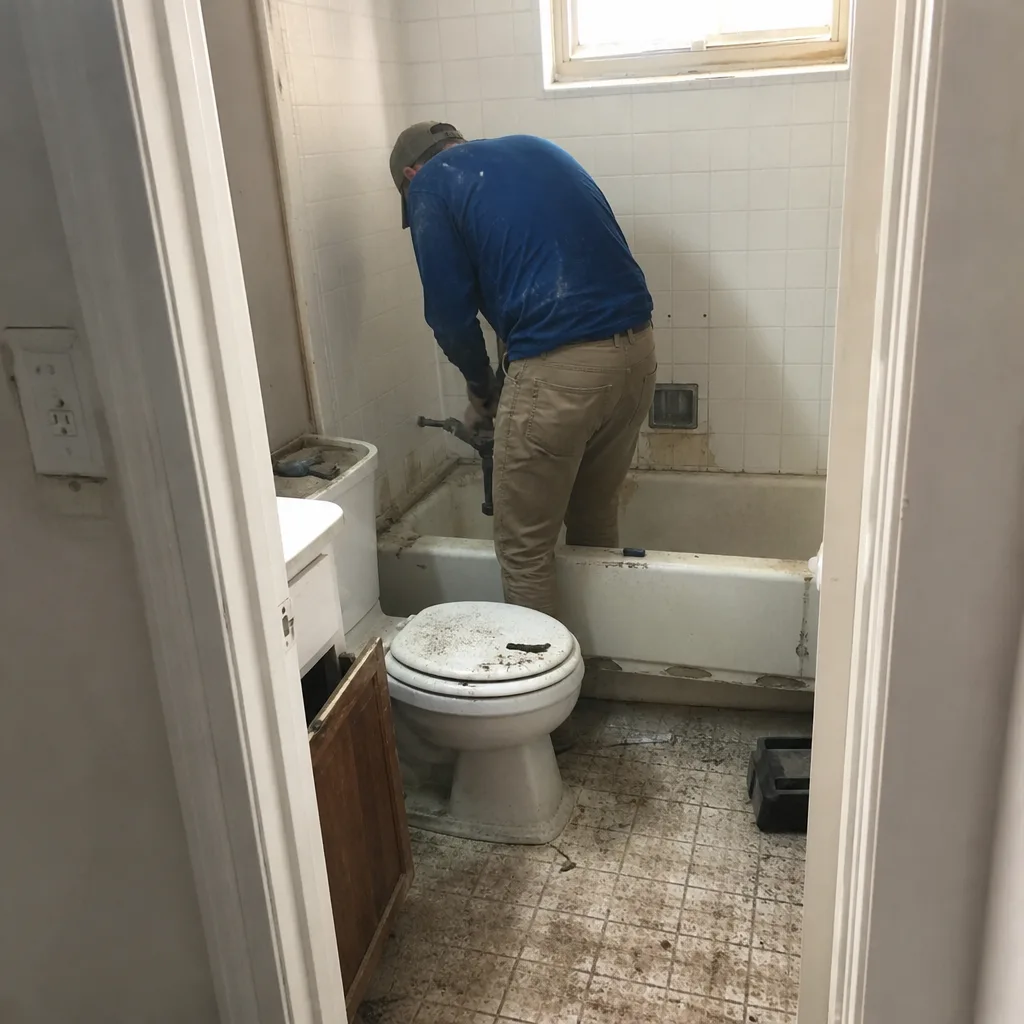 Before
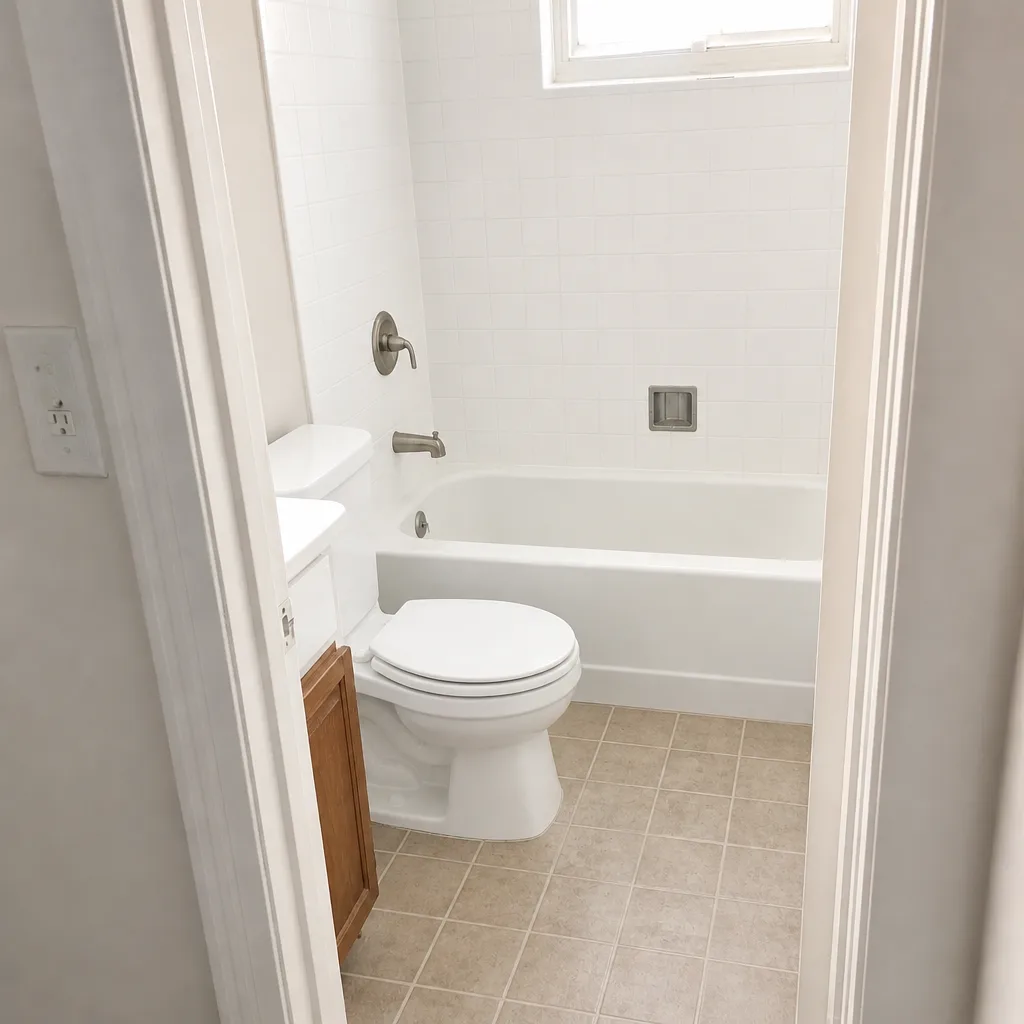 After
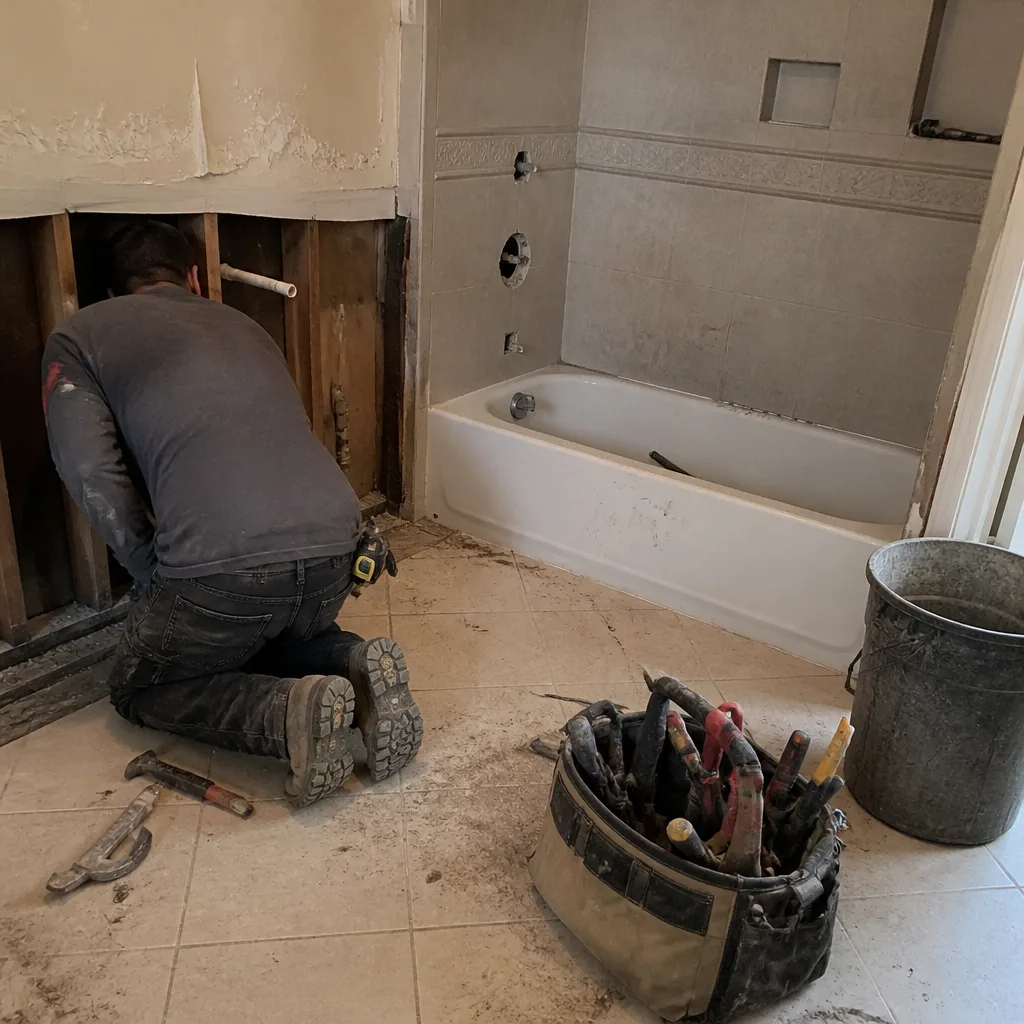 Before
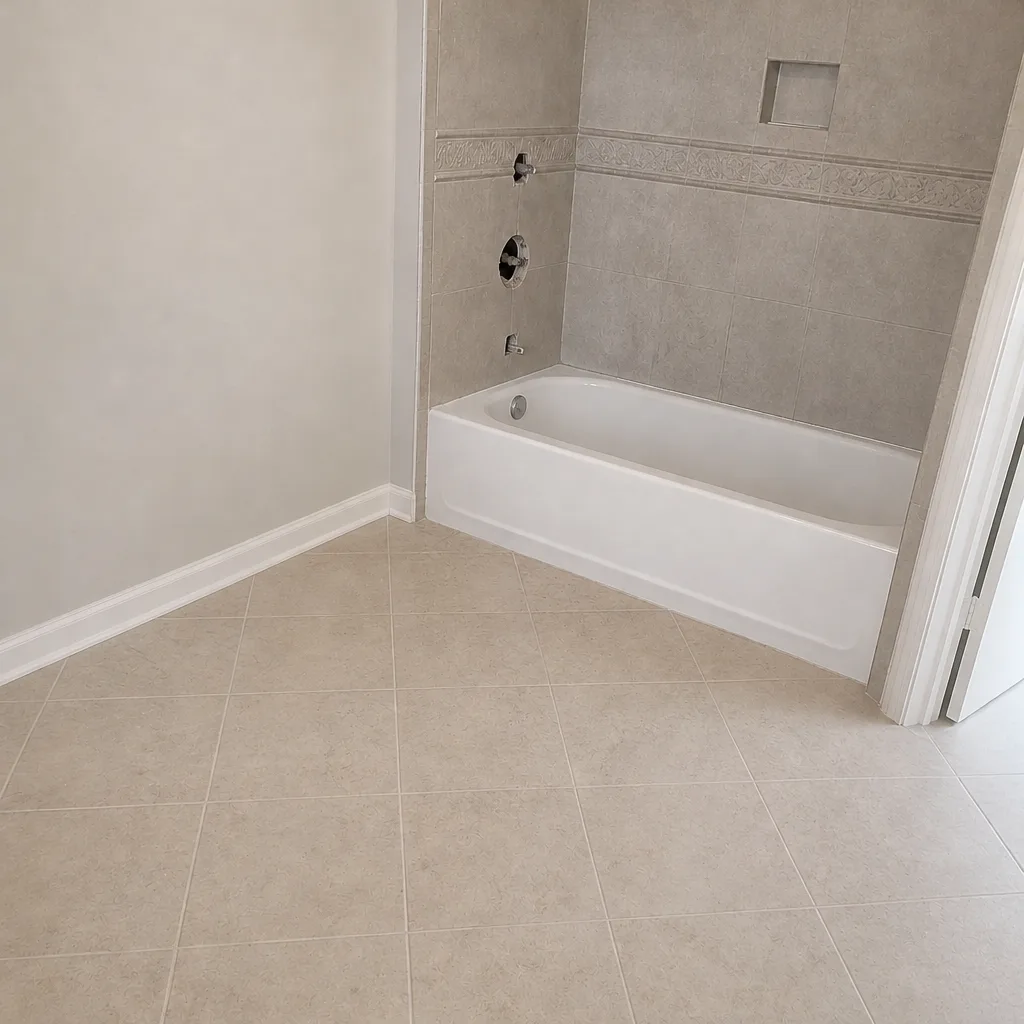 After
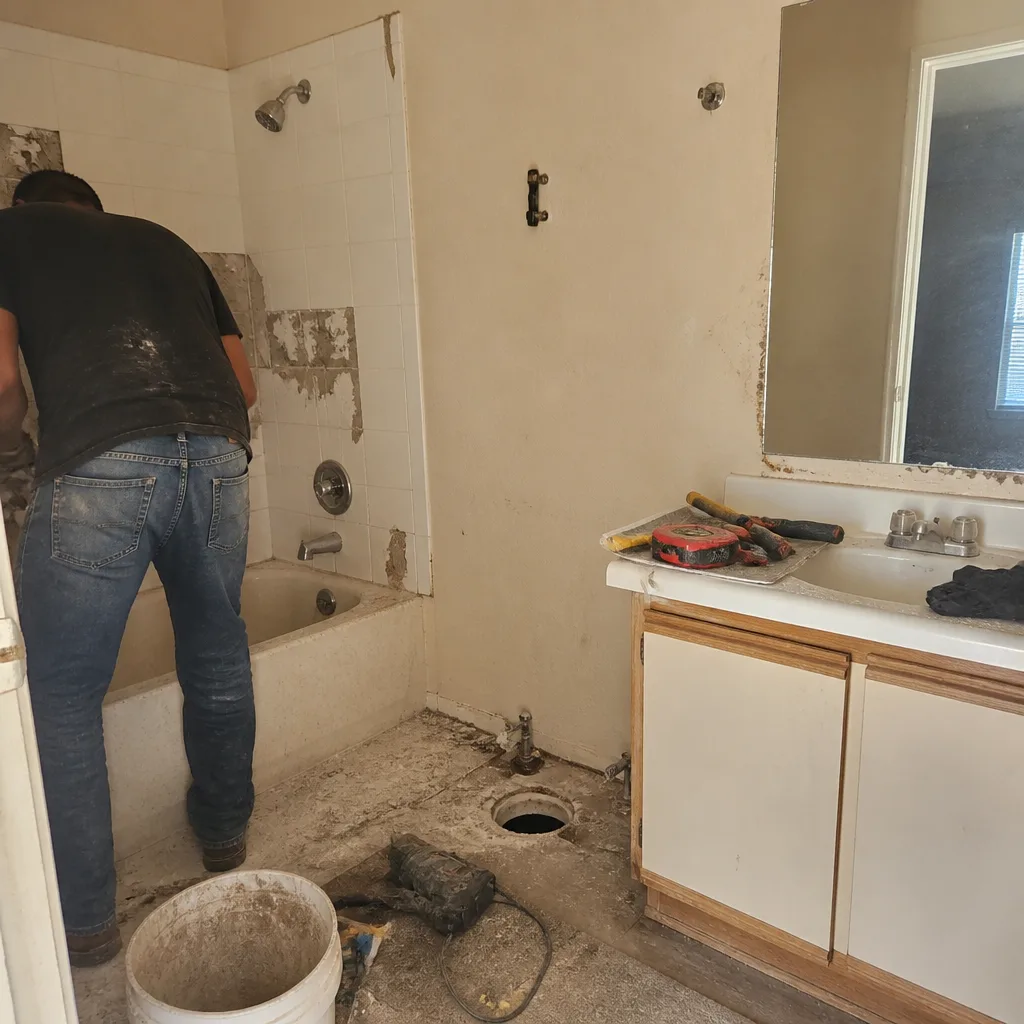 Before
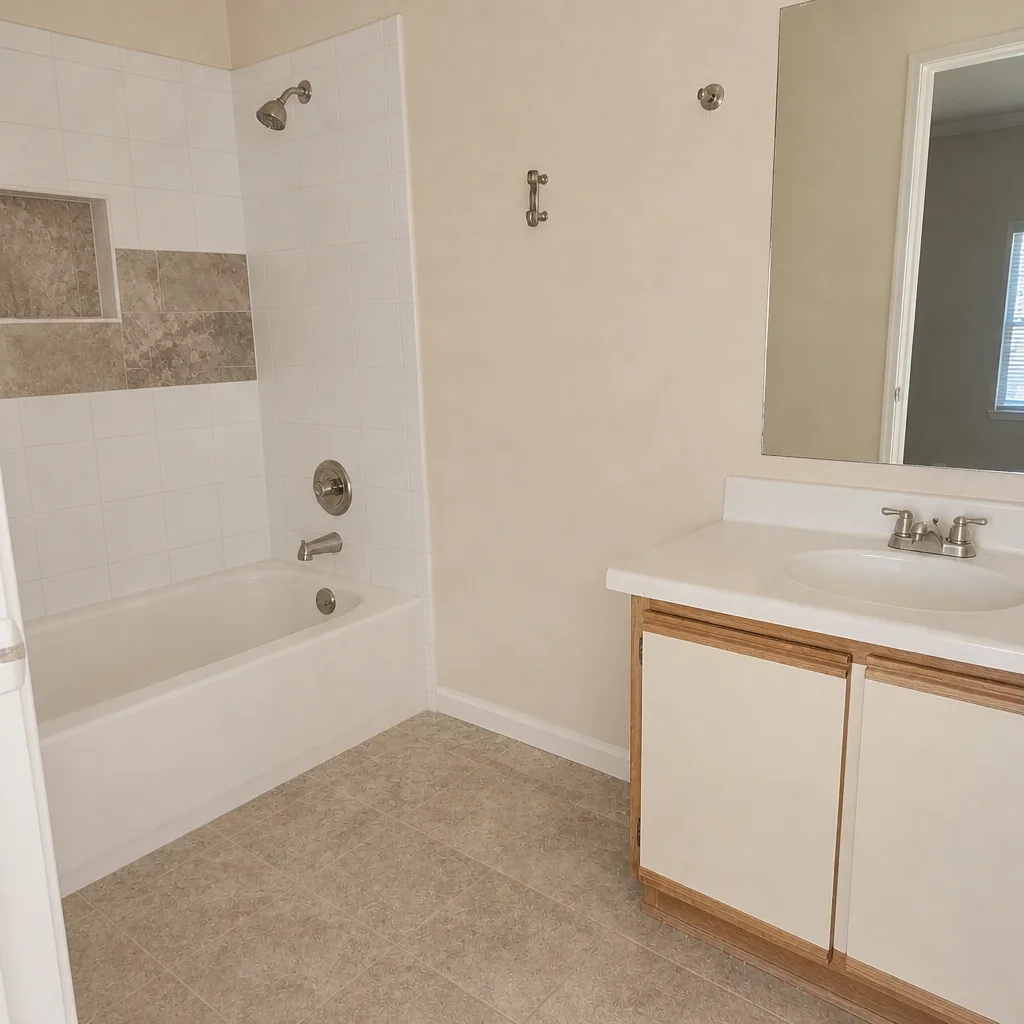 After
When to Call a Professional
Some problems are okay to handle yourself, like re-caulking a perimetrical joint or descaling a showerhead. But there are clear signs it’s time for an inspection. Call a professional if you notice soft or spongy areas behind the tile, water staining on the floor or ceiling below, a crack that runs through the tile rather than the grout, persistent grout failure in visible areas, or a shower that leaks or gives uneven water pressure after cleaning. These point to problems that a tube of caulk won’t solve, and the longer they sit, the more they cost. Our technicians have up to 10 years of experience identifying the difference between cosmetic wear and structural failure. A walk-in shower with a failing waterproofing layer is worth checking, because the repair gets more involved with every month you wait.
Bathroom Remodeling Henderson offers free estimates in Henderson, so if you’re unsure whether your bathroom’s condition warrants a closer look, call (833) 954-6011. We answer 24/7. Fast dispatch from 7am to 7pm, Sunday through Friday.
Frequently Asked Questions

Every 12 months if you’re sealing correctly, but inspect it monthly. In Henderson’s hard water, sealer wears faster than in soft-water areas. If water stops beading on the grout, reseal it regardless of the calendar.
A Schluter Systems installation reduces the need for caulk maintenance because the bond is a waterproof membrane, so you re-caulk annually rather than inspecting corners monthly. You still check the drain assembly and the perimeter seals once a year, but the tile-to-tile field doesn’t need the same attention as a traditional mud-bed shower.
In a Henderson bathroom, caulk fails because either it’s the wrong type (non-stretch caulk on a joint that flexes) or it’s prep failure (old caulk or moisture behind it). A properly prepped, flexible silicone caulk shouldn’t crack from the start if applied to a clean, dry surface.
Yes. Henderson’s water has heavier mineral content than soft-water regions, so a quarterly descale is the safe baseline here. If your showerhead loses pressure before the three-month mark, move it to a more frequent schedule.
You can clean the grille and blades yourself with the power off. But if the fan runs weakly after cleaning, or you hear rattling or humming, it likely needs motor or duct attention. That’s when it’s worth a professional look.
Plan on 20 minutes monthly and 90 minutes quarterly. The annual checklist takes half a day if done properly. The point isn’t perfection; it’s catching the one failing joint before it becomes a wall problem.
The Bottom Line
A bathroom remodel is a capital investment, and it’s protected by a written schedule, not by wishful thinking. The short answer: inspect monthly, descale quarterly, reseal annually, and run the two Henderson stress checks before summer and before monsoon season. Know the brand-specific intervals for Kohler, Delta, Moen, and other fixtures in your home. Learn the difference between normal settling and a failing joint, and act on the failing ones. A Schluter-waterproofed shower buys you a lighter schedule, but no bathroom in Henderson escapes hard water. Get the handoff walkthrough and written schedule as part of the project, and you’ll get the service life out of the investment. If you’re planning your remodel, see our full guide to bathroom remodeling in Henderson and start with a free estimate.
Call (833) 954-6011 for a free estimate. We answer 24/7. Fast dispatch from 7am to 7pm, Sunday through Friday.
Written by the team at Bathroom Remodeling Henderson.