
Last updated November 17, 2026








Free in-home design visit - walk-in showers, tub-to-shower conversions, and Kohler, Moen, and Delta fixtures planned to your exact space
Bathroom Remodeling Maintenance Checklist for Henderson Homeowners
Most post-remodel maintenance checklists tell you to “re-caulk as needed.” In Henderson, with grout and caulk expanding and contracting through 115°F summers and 35°F winter nights, “as needed” is about every 18 months whether you think it needs it or not. That’s the part national home improvement blogs miss. A bathroom here fights a drier, harder, more punishing environment than the one those generic lists were written for, and the maintenance calendar has to match it. In this guide, we’ll walk through a month-by-month maintenance schedule built around Henderson’s actual climate swings, a hard water plan for Southern Nevada’s mineral-heavy water, how to inspect waterproofing before small failures turn into subfloor damage, ventilation checks that matter during monsoon season, and fixture-specific care notes by brand tier so you know exactly what your investment requires.
Quick Answer
A bathroom remodel in Henderson needs a climate-calibrated maintenance routine: inspect caulk and grout seams every 6 months and plan on full re-caulking roughly every 18 months, descale fixtures and shower glass monthly because Southern Nevada water is hard, test the exhaust fan each season, and check the shower pan and waterproofing membrane annually before monsoon humidity arrives. Skip these and a ten-year remodel can start failing at year four.
Styles & brands we work with
- Walk-in shower
- Tub-to-shower
- Freestanding tub
- Kohler
- Moen
- Delta
- Frameless glass
Table of Contents
- The Henderson Maintenance Calendar: Month by Month
- Hard Water: The Southern Nevada Mineral Problem
- Inspecting Waterproofing and Shower Pan Integrity
- Ventilation Fan Checks for Monsoon Humidity
- Fixture-Specific Care by Brand Tier
- Seams, Grout, and the 18-Month Caulk Rule
- Drains, Stoppers, and Slow-Clog Prevention
- What Maintenance Should Cost in Henderson
The Henderson Maintenance Calendar: Month by Month
A Henderson bathroom doesn’t follow the four-season script that generic checklists assume. It follows a desert rhythm: a long dry stretch from spring through fall, a hard winter freeze risk on a handful of cold nights, and a summer monsoon window when outside humidity can jump from single digits to 40 percent in an afternoon. Maintenance should follow that rhythm, not the calendar on a national blog.
Here’s how we think about the year in a Henderson bathroom:
- January – deep seam inspection. After the cold snaps, walk every caulk line in the shower and around the tub. Winter nights near freezing contract the joints that summer heat expanded. Any crack wider than a hairline gets replaced, not patched.
- February – shower pan and drain check. Stand in the shower, watch for any flex underfoot, and confirm the drain isn’t slow. Catching a pan issue before summer is far cheaper than catching it after a season of thermal stress.
- March – exhaust fan deep clean. Pull the grille, vacuum the blades and housing, and confirm airflow with a tissue test. A clogged fan is a slow-motion problem.
- April – pre-summer fixture descale. Before the hardest water months, soak showerheads, faucet aerators, and glass in a descaling solution.
- May – grout seal check. Test a few grout lines with a drop of water. If it soaks in immediately, the sealer has worn and needs refreshing before summer.
- June through September – monthly glass and fixture wipe-downs. The dry heat plus heavy water use in summer concentrates mineral spotting fast. Monthly maintenance keeps glass clear.
- October – post-monsoon waterproofing review. After the humid season, look closely at silicone seams and tile edges around the shower for any softness or discoloration.
- November and December – seasonal fixture lubrication and hardware tighten. Check shower door hinges, towel bars, and any moving parts for looseness before the cold nights set in.
That’s a working calendar, not a rigid one. In our experience, homeowners who follow something close to it get more years out of the same materials than those who only act when something looks wrong.
Hard Water: The Southern Nevada Mineral Problem
Southern Nevada water runs hard, and it carries the calcium and magnesium that leave white scale on glass, crusty rings in toilets, and mineral buildup inside faucet aerators and showerheads. For a Henderson bathroom, this is the single biggest driver of cosmetic decline and slow fixture wear. A brand-new walk in shower with premium glass can look cloudy within a year if it isn’t wiped down routinely.
The good news: hard water damage is almost entirely preventable with a schedule.
- Daily: a quick squeegee of shower glass after each use. This alone cuts scale buildup dramatically.
- Weekly: wipe fixtures and glass with a mild descaling spray. Avoid abrasive pads on any polished finish.
- Monthly: soak showerheads and faucet aerators in a descaling solution for 20-30 minutes. This clears the mineral crust that slowly reduces flow.
- Quarterly: run a dedicated descaler through the toilet bowl and check the fill valve for mineral grit.
- Annually: inspect and clean the inside of the shower valve trim and any exposed supply lines for scale.
A whole-home water softener, if your home is plumbed for one, changes the maintenance math substantially. If soft water is in place, monthly descaling can often stretch to every other month. If it isn’t, stick to the schedule above and don’t shortcut the monthly soaks – that step is what keeps Grohe or Kohler finishes looking the way they did on day one.
Inspecting Waterproofing and Shower Pan Integrity
Waterproofing is the part of a bathroom remodel you never see, and it’s the part that decides whether the job lasts ten years or four. In a Henderson bathroom, the shower pan and the tile backer behind it do constant thermal work through the year, and any small breach in the waterproofing becomes a slow leak that eventually damages the subfloor and framing.
The annual inspection doesn’t require opening the wall. It requires knowing what to look for:
- Check for movement underfoot. A shower pan should feel solid. Any flex, softness, or change in feel since the remodel is worth investigating.
- Look at the base of the shower walls. Discoloration, bubbling paint, or soft drywall at the bottom few inches of an adjacent wall can signal moisture migrating from the shower.
- Check the drain seal. Confirm the drain ring and any visible sealant are intact and not cracked.
- Look at the curb and the floor-to-wall transition. These are the highest-stress seams in a curb-and-pan shower. Any separation, crumble, or persistently damp caulk is a flag.
- Watch for a musty smell that doesn’t clear. A persistent smell with no visible mold can indicate moisture trapped behind tile.
If your remodel used a bonded waterproofing system such as Schluter, the membrane itself is designed to handle this movement, but the perimeter seams and drain connections still need eyes on them. Any time you find a soft spot, a persistent smell, or water staining on a wall behind the shower, stop and get a professional involved. Waterproofing failures don’t fix themselves and they don’t stay small.
Ventilation Fan Checks for Monsoon Humidity
Henderson is dry most of the year, which makes it easy to treat the exhaust fan as an afterthought. Then monsoon season arrives, outside humidity spikes within a couple of hours, and the bathroom is suddenly the steamiest room in the house. A fan that was already limping doesn’t keep up, and moisture starts lingering on walls, glass, and grout lines. That lingering moisture is what feeds mold and accelerates caulk failure.
Check the fan every season, but especially in spring before the humid months:
- Tissue test: hold a single-ply tissue against the grille while the fan runs. If it pulls flat and holds, airflow is reasonable. If it droops, the fan is struggling.
- Listen for drag: a fan that sounds labored or rattles more than it used to is likely choked with dust or nearing the end of its life.
- Clean the grille and blades: a vacuum and a damp cloth on the grille make a real difference to airflow.
- Timed run: run the fan for 20 minutes after a shower rather than 5, especially during monsoon weeks. Humidity has to leave the room, not just the mirror.
- Check the exterior vent: make sure the roof or wall vent flap isn’t stuck and that no bird or insect has nested in the duct.
If the fan still feels weak after a full clean, it’s often the wrong size for the bathroom rather than broken. A professional can size a replacement to the room’s cubic footage. If the fan is failing or you’re planning a bigger ventilation upgrade alongside a bathroom remodeling project, that’s the moment to fix it permanently.
Fixture-Specific Care by Brand Tier
Not every fixture asks for the same maintenance, and knowing your brand’s quirks saves you from cleaning the wrong way and damaging a finish. Henderson’s hard water is unforgiving to anything with a thin coating, so care tailored to your specific brand and finish matters.
Here’s how we approach the brands we work with most:
- Kohler: many Kohler finishes (especially the polished and brushed metallics) are durable but sensitive to abrasive cleaners. Stick to mild soap and a soft cloth. Kohler’s ceramic disc valves are famously long-lived, but descaling the aerator on schedule protects flow.
- Moen: Moen fixtures are widely serviceable, and many cartridges can be replaced without tearing into the wall. Know your model number; a worn cartridge is often the cause of a drip, not a failed valve body.
- Grohe: premium European engineering means tight tolerances and finishes that reward gentle care. Avoid harsh lime removers on the finish, use a dedicated scale remover for glass and a mild cleanser on the metal, and don’t overtighten any trim.
- Sterling: Sterling’s tub and shower surrounds are popular for cost-effective conversions. Keep caulk joints intact and avoid abrasive pads on acrylic surfaces, since scuffs hold mineral deposits over time.
If you’re choosing fixtures during a remodel, matching the brand to your water chemistry and cleaning habits is worth a conversation. Our team can walk you through what a Kohler versus a Grohe finish really asks for in a Henderson home, and what the maintenance rhythm looks like for each. A fixture you’ll care for properly beats a nicer one you’ll ruin in three years.
Seams, Grout, and the 18-Month Caulk Rule
Caulk is the first thing to fail in a Henderson bathroom, and it fails on a schedule. The reason is simple thermal movement: joints expand in triple-digit summer heat and contract on cold winter nights, and the caulk takes the stress. Sealant that looks fine can already be compromised at the bond line. That’s why we plan on a full re-caulk of a shower roughly every 18 months regardless of appearance, and sooner if the joints see heavy use.
What to check every six months:
- Look for cracking and shrinkage. Any gap between the caulk and the tile or tub is a water path.
- Feel for softness. Caulk that stays soft, pushes in, or feels tacky is no longer sealing properly.
- Check for discoloration. Dark spots on clear or white caulk usually mean moisture is getting behind it.
- Test grout with a drop of water. Sealed grout beads water. Unsealed grout absorbs it. Re-sealing is a simple job, but skipping it lets water wick into the backer.
- Look at inside corners and floor-to-wall seams first. These are the highest-movement joints and the first to go.
Use 100% silicone in wet areas. The acrylic “paintable” caulks don’t hold up in a shower in this climate. A proper re-caulk means removing the old sealant completely, cleaning, drying, and applying fresh silicone, not smearing new caulk over old. If you’re not comfortable working with silicone in a wet area, or if the existing joists are questionable, that’s a job for someone who does it every day.
Drains, Stoppers, and Slow-Clog Prevention
Drains are the quietest part of the maintenance list and the most costly to ignore. In Henderson, hard water deposits and hair combine to build clogs slowly, and a slow drain is the warning sign most homeowners learn to live with. The fix, once the line is properly restricted, either requires a professional call or a rebuilt drain assembly.
Prevention is straightforward:
- Every two weeks: a small mesh hair catcher in the shower is the single best defense. Empty and rinse it, don’t just tap it out.
- Monthly: pour a few cups of hot water down the shower drain to keep soap scum moving.
- Quarterly: check the pop-up stopper and P-trap. Many slow drains come from a stopper full of hair, not a genuine line clog.
- Annually: inspect the overflow plate and the drain seal. A worn seal around the overflow is a hidden leak point.
Never use chemical drain cleaners as a routine tool – they’re hard on older pipes and don’t solve the mineral part of the problem in Southern Nevada water. A plumber’s snake or a professional visit is kinder to the system. If a shower or tub drain is persistently slow, that’s a sign to have it looked at rather than tolerated.
What Maintenance Should Cost in Henderson
Bathroom maintenance in Henderson is not expensive when it’s done consistently, and much cheaper than repairing water damage. Typical maintenance tasks fall into a range of small, manageable estimates:
- Full shower re-caulk: a small job that protects tens of thousands of dollars of work. Get a written estimate before work starts; costs vary with the size of the shower and how much old sealant has to be removed.
- Grout cleaning and re-sealing: priced per square foot in the shower area. Re-sealing is one of the most cost-effective maintenance jobs you can do.
- Exhaust fan cleaning or replacement: cleaning is a quick, walk-in task; a right-sized replacement is a bit more. If the fan is undersized, that’s the upgrade to do during a remodel, not after.
- Fixture cartridge replacement (Moen, Grohe, Kohler): the part is usually inexpensive; most of the cost is labor access to the valve. A cartridge issue is often mistaken for a fixture replacement.
- Shower pan inspection: cheap to inspect, and the inspection is what prevents a subfloor repair.
Every price is an estimate, and the written quote is what sets the final number. We give free estimates with line items across all of our maintenance and remodel work, so you know what you’re paying for before anyone starts. Scheduling maintenance is one thing – scheduling a two-week remodel because maintenance lapsed is another. If you’re planning a full remodel anyway, the maintenance plan starts the day the job wraps.
Common Mistakes to Avoid
- Treating maintenance as “as needed.” In Henderson’s thermal swings, sealant fails long before it looks bad. Plan on a full re-caulk every 18 months instead of waiting for a visible crack.
- Using harsh chemical drain cleaners on a routine basis. They’re tough on older plumbing and don’t address the mineral component of the problem in Southern Nevada water.
- Skipping the exhaust fan. A clogged or undersized fan is the biggest hidden cause of mold and caulk failure during monsoon humidity. Check it every season, not once a decade.
- Cleaning polished fixtures with abrasive pads. This is the fastest way to dull a Kohler or Grohe finish. Soft cloths and mild cleaners only.
- Ignoring a soft shower pan. A little flex underfoot is early warning of a waterproofing problem. Catching it early is a repair; ignoring it is a subfloor rebuild.
- Assuming grout is water-tight. Grout on its own is porous. Sealing it on schedule is what keeps water out of the backer board.
- Re-caulking over old silicone. Sealant won’t bond to old silicone. Strip, clean, dry, and apply fresh – don’t layer it.
See the difference
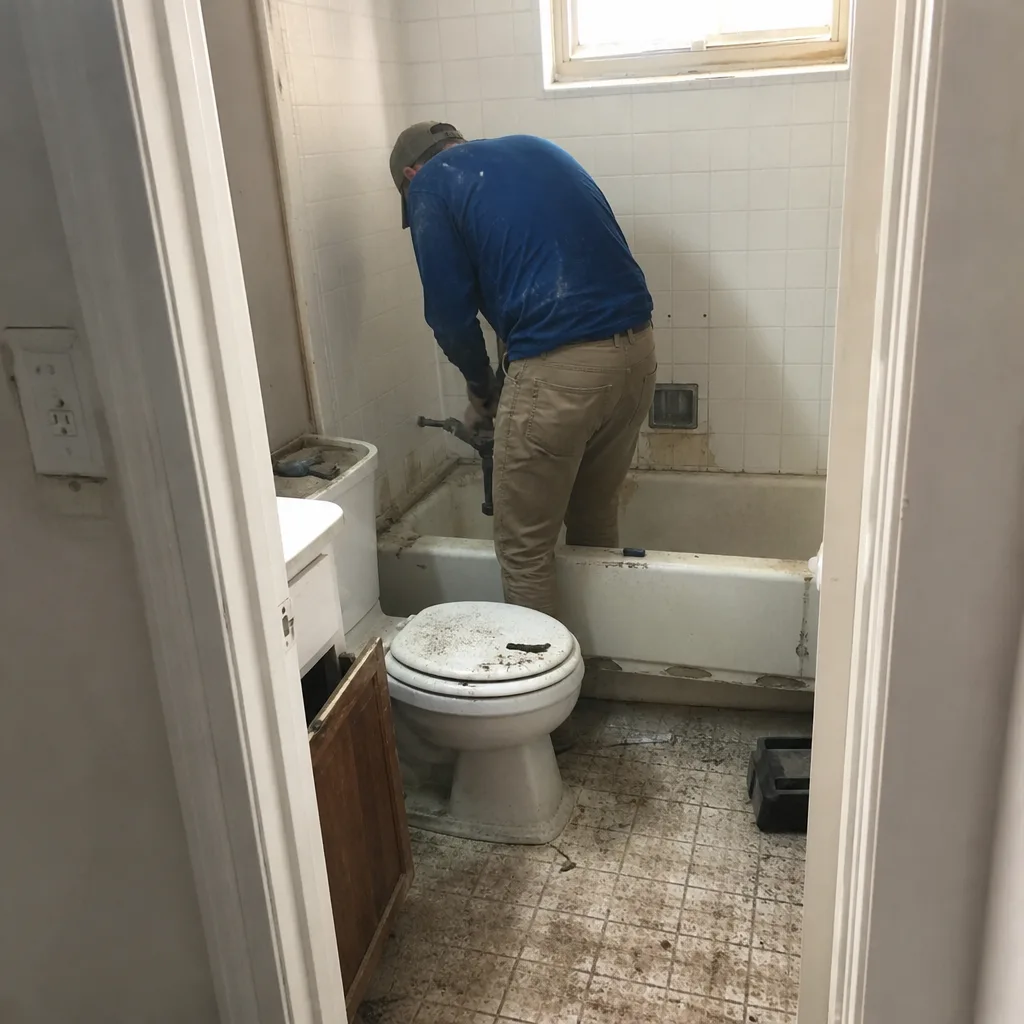 Before
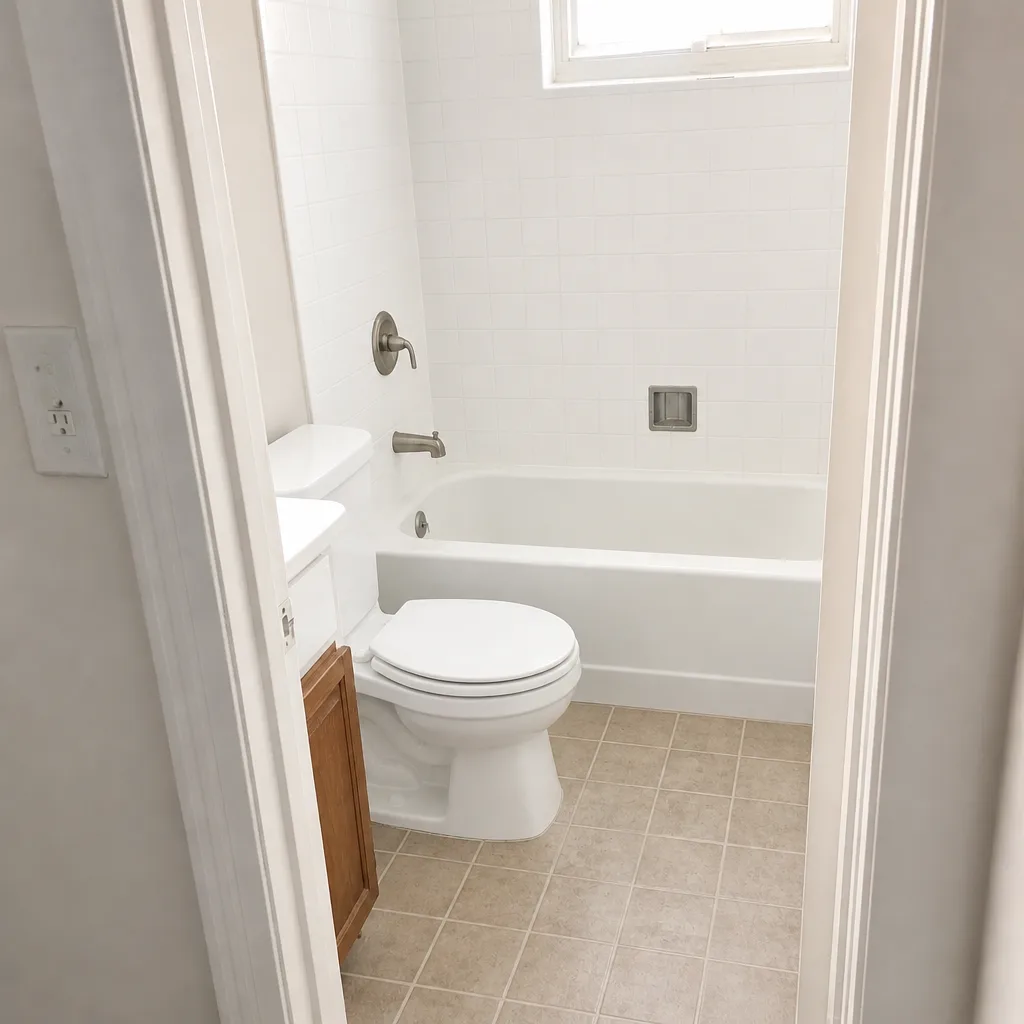 After
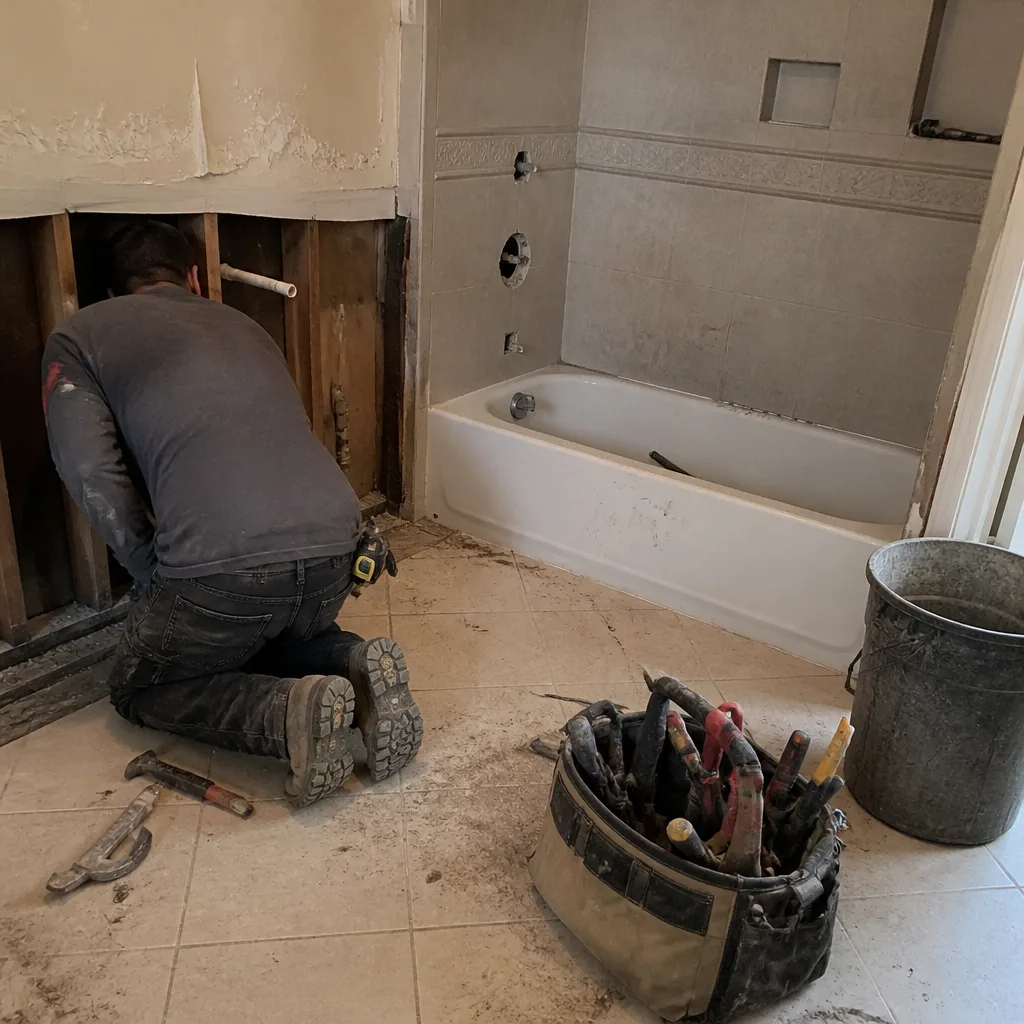 Before
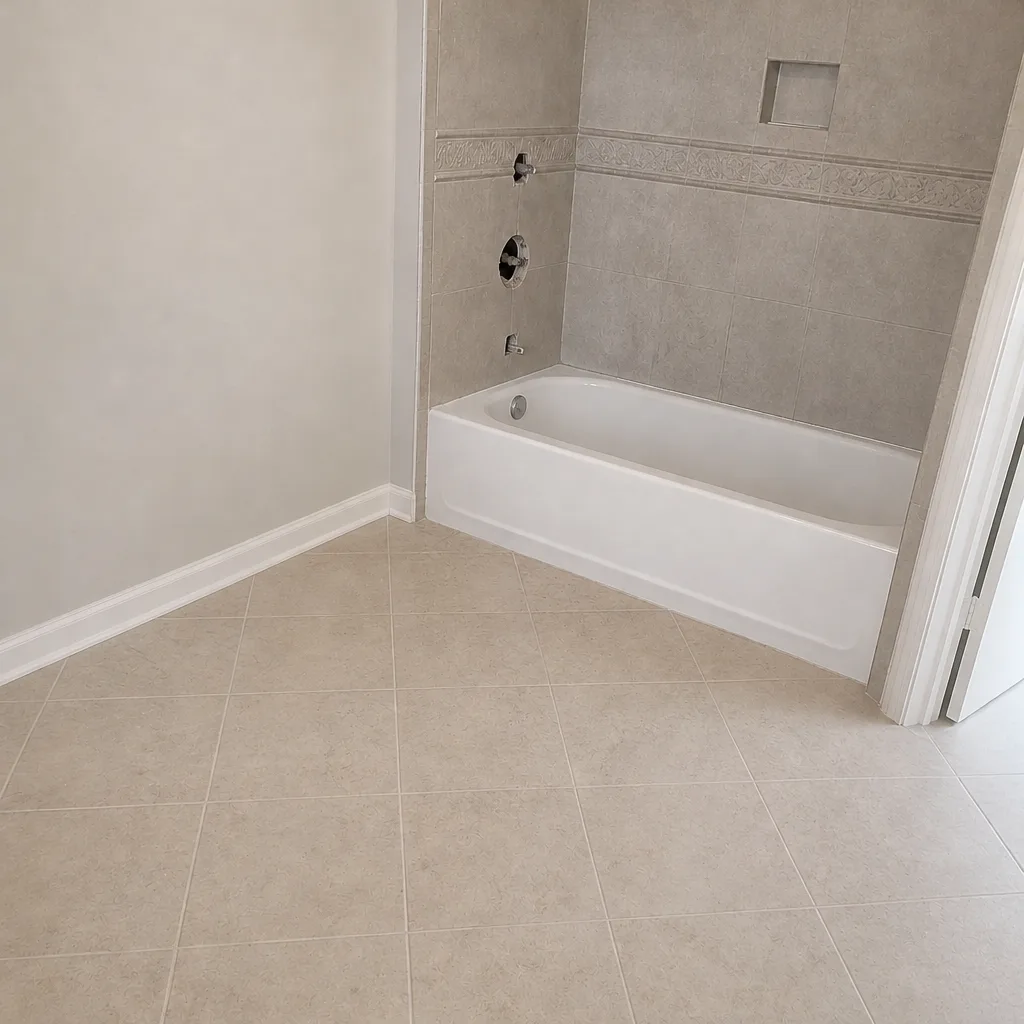 After
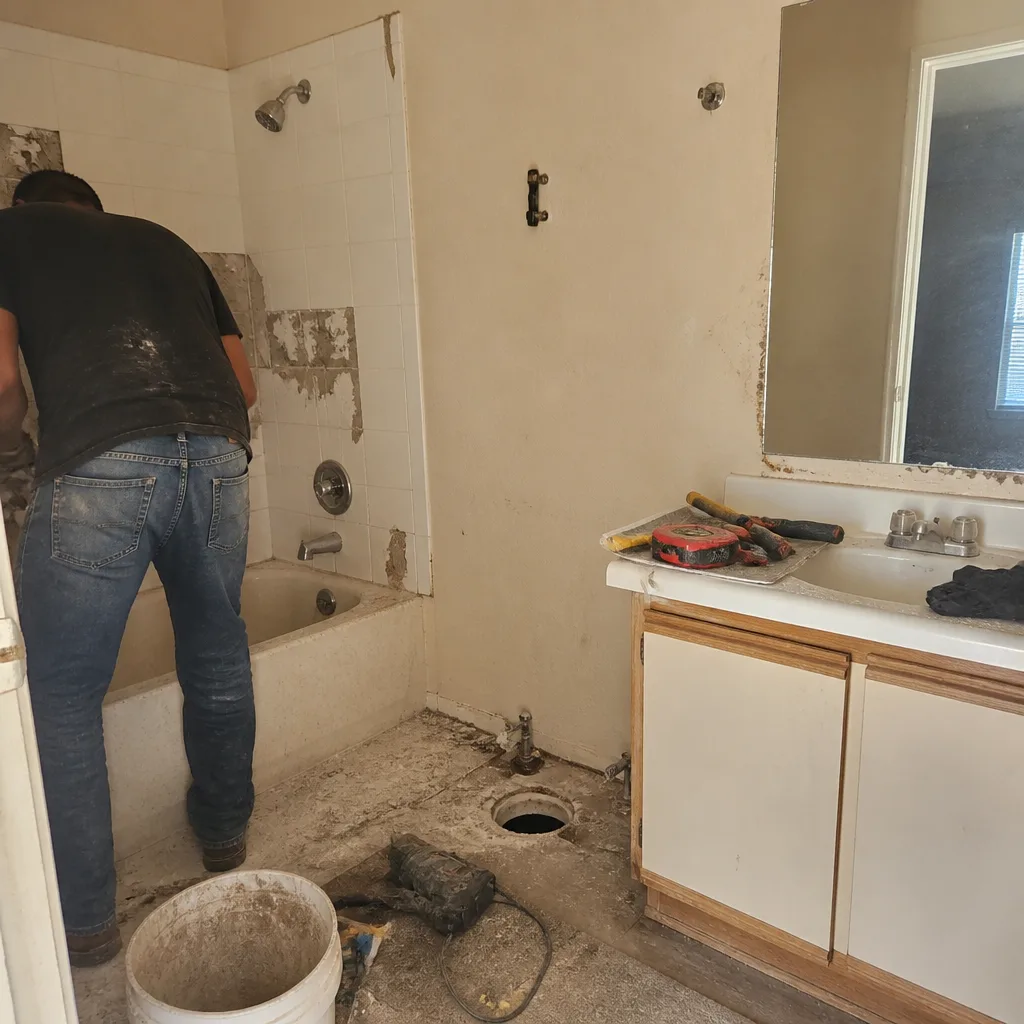 Before
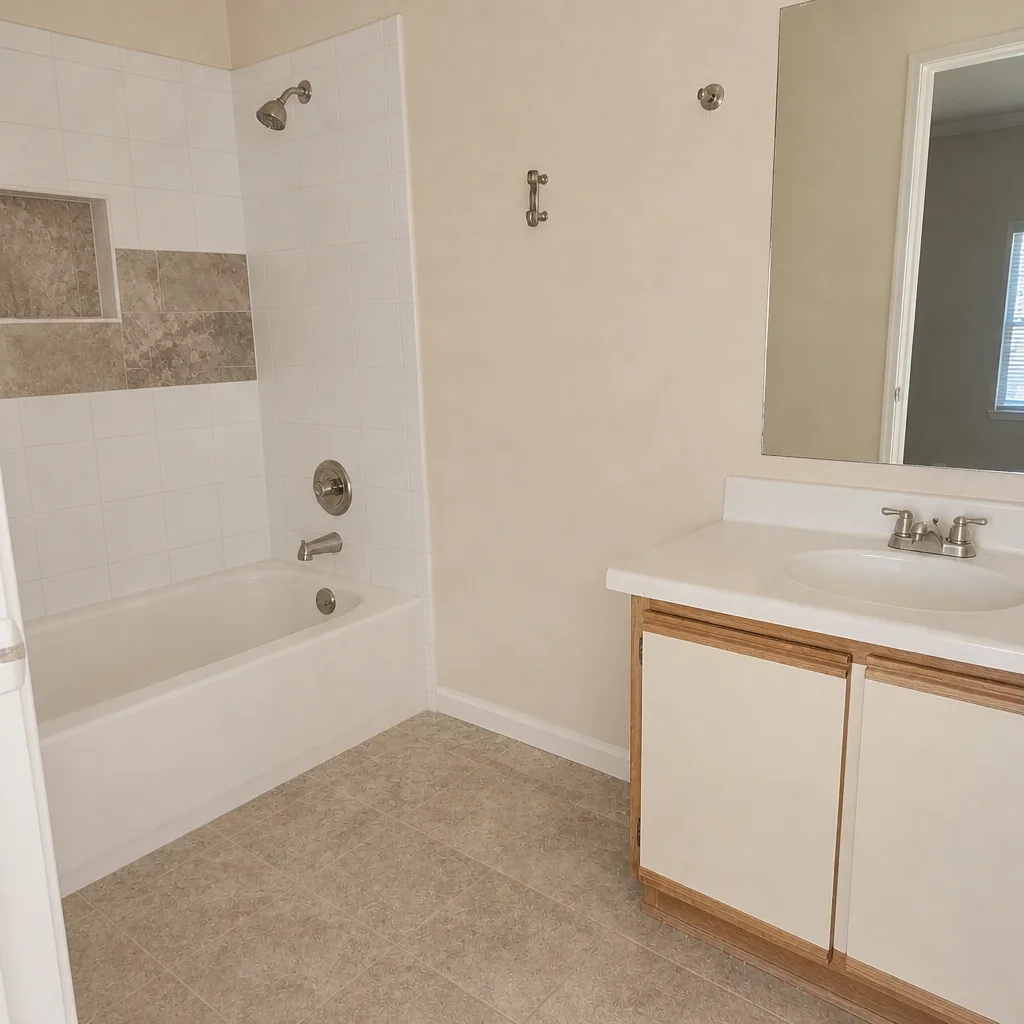 After
When to Call a Professional
Not every task needs a pro, but these do: a shower pan that flexes or feels soft underfoot, water staining or mustiness on a wall behind the shower, a persistently slow drain that snaking doesn’t clear, a fixture leak that comes from inside the wall, or caulk that fails repeatedly in the same seam. In any of those cases, taking a look now is much cheaper than letting the failure bloom. We work in one trade – bathrooms, from Bathroom Remodeling Henderson full remodels to shower builds and tub-to-shower conversions – so we can diagnose waterproofing and fixture issues confidently and fix them without breaking into the rest of the house. If you’re in Henderson and something on this list has you worried, call (833) 954-6011 to schedule a free estimate. We answer 24/7. Fast dispatch, 7am-7pm.
Frequently Asked Questions
Every 18 months is the working rule for a shower in Henderson, sooner in a high-use bathroom. The 115°F summer peaks and near-freezing winter nights expand and contract the joints constantly, so caulk fails on schedule even when it looks intact. If you can see a crack, it’s overdue. Call (833) 954-6011 for a free estimate on re-caulking and inspection.
Yes. Southern Nevada water carries high mineral content, and it will leave visible scale on glass and fixtures and wear down finishes if you don’t descale monthly. Showerheads, aerators, and shower glass are the first to show it. A monthly descaling soak and a daily squeegee of glass protect the finish best. If hard water is already damaging fixtures, call (833) 954-6011 for advice on replacement options.
A soft or flexy feeling underfoot, discolored caulk that doesn’t clear, mustiness in the room, or water staining on a nearby wall all point to a waterproofing issue. Any of those should be professionally inspected, because small failures turn into subfloor repairs fast. We inspect shower pans and waterproofing as part of our bathroom work in Henderson, and the estimate is free.
Every season, and especially in spring before monsoon humidity arrives. Hold a tissue to the grille while the fan runs – if it doesn’t pull flat, the fan needs cleaning or upsizing. A choked fan can’t handle the sudden humidity spikes of the desert monsoon. If your fan is undersized, call (833) 954-6011 for a replacement estimate.
Yes. Kohler and Grohe finishes reward gentle cleaners and soft cloths, while Moen cartridges are serviceable and often replaceable without a full fixture change. Matching the care to the brand and finish protects the investment and avoids premature replacement. We carry Kohler, Moen, Delta, Toto, Grohe, Sterling, and more, and we can help you pick what fits your home and your maintenance habits.
Yes. The moment a new bathroom is complete, its clock starts. Getting the caulk, grout, and waterproofing inspection schedule on the calendar early saves you from the cycle of repairs that comes from letting small things slide. For a fresh start in a Henderson home, our Henderson team can lay out a maintenance plan when the job wraps – the estimate for planning is free.
The Bottom Line
A Henderson bathroom is a long, exposed surface to the desert’s extremes, and it needs a maintenance plan calibrated to this climate rather than a generic national checklist. Re-caulk every 18 months, descale fixtures monthly for hard water, run the exhaust fan check every season, inspect the shower pan and waterproofing annually, and treat your fixture brand’s care instructions as part of the remodel, not an afterthought. Our technicians have up to 10 years of experience, and we’ve seen what happens when a bathroom is left to run on “as needed.” Do the small work on schedule and the big work is years away.
If maintenance has become something bigger, or you’re ready to start planning a remodel, we’d be glad to help. Call (833) 954-6011 to schedule your free estimate. We answer 24/7. Fast dispatch from 7am to 7pm, Sunday through Friday. Licensed and insured, with written line-item estimates and bathroom-only expertise.
Written by the team at Bathroom Remodeling Henderson.